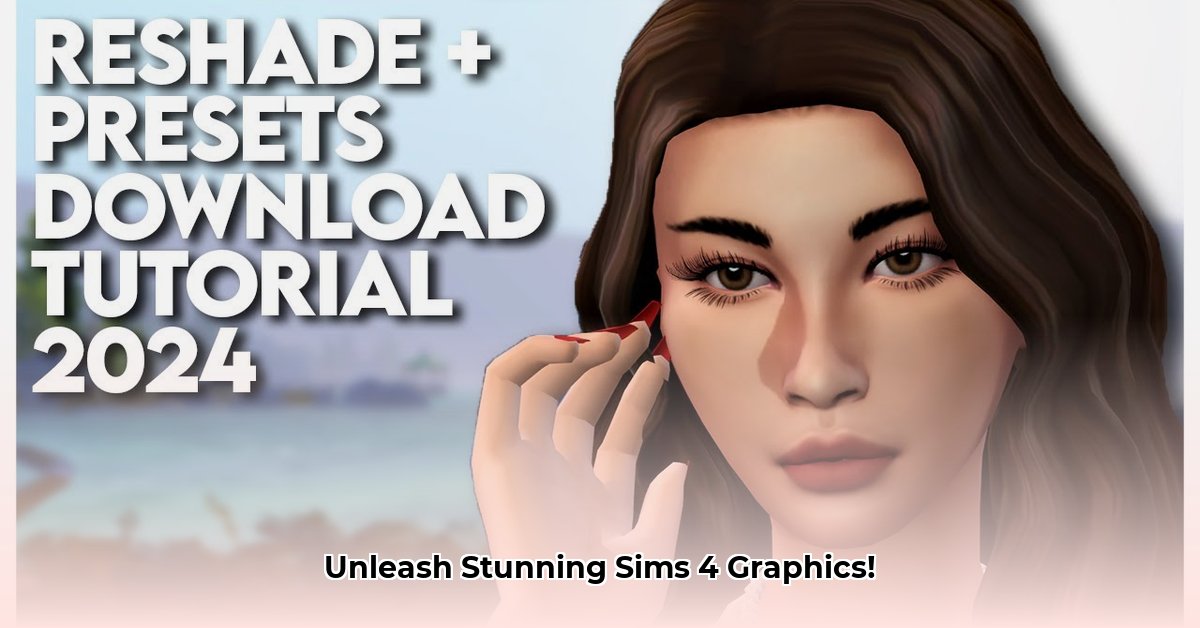
Want to transform your Sims 4 game from decent to dazzling? This comprehensive guide provides a step-by-step tutorial on downloading and installing Reshade, a powerful tool that dramatically enhances your game's visuals. We'll cover everything from initial download to fine-tuning your settings for optimal performance, ensuring you achieve stunning graphics without sacrificing smooth gameplay.
Downloading Reshade: The First Step to Enhanced Visuals
Before we dive into the exciting visual enhancements, let's grab the essential tool: Reshade. This free program dramatically improves the graphics of many games, and Sims 4 is no exception.
Locate the Reshade Website: Begin by visiting the official Reshade website 1. A quick online search will easily lead you there.
Download the Installer: Download the latest stable version of the Reshade installer. Double-check you're downloading the correct file for your operating system.
Save the Installer: Save the installer to a location you'll easily remember, such as your Downloads folder. This keeps things organized.
Installing Reshade: A Simple Guide to Game-Changing Graphics
Now, let's integrate Reshade into your Sims 4 game. These steps will walk you through the process, ensuring a smooth and successful installation.
Locate Your Sims 4 Executable: Find the file that launches your Sims 4 game. It's typically located in
Documents\Electronic Arts\The Sims 4\Game\Bin. Look for a file ending in ".exe," often named something like "TS4.exe." This is crucial; selecting the wrong file can lead to installation errors.Run the Reshade Installer: Double-click the downloaded Reshade installer. The program will launch and guide you through the steps.
Select Your Sims 4 Game: The installer will prompt you to select your Sims 4 executable. Browse to the location you found earlier and choose the ".exe" file.
Choose Direct3D 9: Select Direct3D 9 as the API (Application Programming Interface). While Direct3D 11 might be an option, Direct3D 9 generally provides better compatibility and stability.
Shader Selection (Effects): Reshade offers a wide array of shaders (visual effects). For now, select only the ones your chosen presets require. Adding too many shaders can significantly reduce performance.
Complete the Installation: Allow the installer to complete the process. This may take a few minutes. Successfully installed Reshade will add new files to your Sims 4 game folder.
Choosing and Integrating Reshade Presets: Unleashing Visual Variety
The real fun starts now! Reshade presets are pre-configured sets of shaders, offering effortless visual enhancements.
Find Presets: Many websites offer free Sims 4 Reshade presets. A web search will lead you to a myriad of options. Always download from reputable sources to avoid potentially harmful files.
Experiment with Presets: Download several presets to see which styles you prefer. Don't hesitate to experiment with different combinations to discover your perfect look.
Install the Presets: Locate the Reshade folder (created during installation) within your Sims 4 game directory. Simply drag and drop the downloaded preset files (usually .ini files) into this folder.
Have you considered the impact of different lighting shaders on your game's atmosphere? A simple change can dramatically alter the mood and feel of your Sims 4 world.
Optimizing for Performance: Balancing Aesthetics and Smooth Gameplay
While Reshade enhances your visuals, it can impact performance. Here are some tips to maintain a balance between beauty and smooth gameplay:
Use Fewer Shaders: Start with a small selection of shaders and add more only if your computer can handle it.
Reduce Shader Intensity: Many presets allow you to adjust the intensity of individual shaders. Lowering the intensity can significantly improve performance.
Check Your System Specifications: Older or less powerful computers may require simpler presets to avoid performance issues. Consider upgrading your hardware if visual performance is a major priority.
Did you know that even a modest hardware upgrade can significantly improve Reshade performance? Upgrading your graphics card, for example, can readily boost your game's visual capabilities.
Troubleshooting: Addressing Common Reshade Issues
Despite its simplicity, Reshade installations might encounter a few snags. This section addresses common problems and solutions:
| Problem | Solution |
|---|---|
| Reshade Not Working | Verify installation steps; ensure the correct executable and API were selected. |
| Performance Issues | Reduce shader count, lower shader intensity, or utilize simpler presets. |
| Installation Errors | Reinstall Reshade; ensure no conflicting mods are present. |
| Presets Not Working | Ensure compatibility with the Reshade version; check preset instructions. |
Beyond the Basics: Advanced Reshade Techniques
Once comfortable with the basics, explore the advanced options available within Reshade. You can customize individual shaders, create your own custom presets, and delve into much more. This opens up a world of personalized visual customization.
This tutorial should equip you to successfully install and utilize Reshade in your Sims 4 game. Enjoy the enhanced visuals!
⭐⭐⭐⭐☆ (4.8)
Download via Link 1
Download via Link 2
Last updated: Wednesday, April 30, 2025